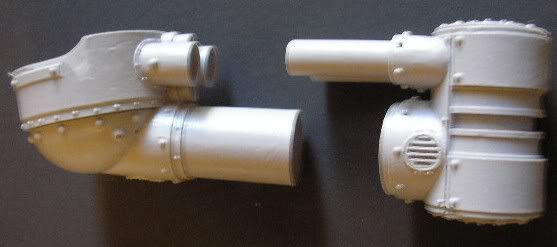
The first part is a no brainer. The titans thighs come in two large pieces. These I put together with one pin in the large piston of each leg. Not a lot of chance of weird stress angles or twisting, so I deemed one pin to be sufficient. For all these large pieces an old wire clothes hanger provides the pin material and a dremel tool and appropriate sized bit make the holes.
Next I moved my way down to the knee joint. The shape of the knee joint with all it's little ridges means that there is little chance of twisting, so once again a single pin does the job. A hole is drilled in the calf...
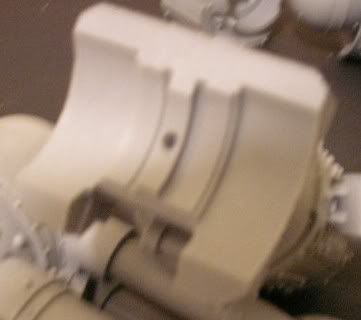
Then a hole for the thigh...

Then the two are joined. This is not so simple as it seems though. There was a lot of dry fitting to test and make sure that the knees were at an angle that would not interfere with later assembly. Once this angle was set (technically prior to drilling of course!) a pin is prepared and JB Kwik two part epoxy is mixed. I use a toothpick to slather the epoxy into the holes as much as possible, then on the pin itself as well. Hold the two leg parts together for a couple minutes and presto!
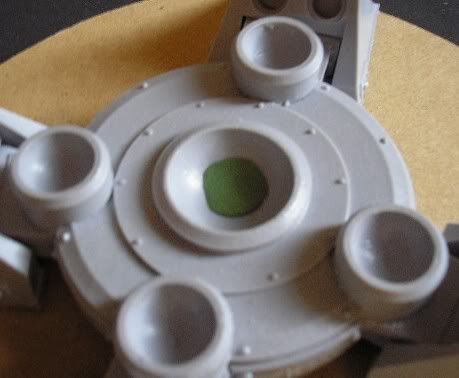
Next we move on to the feet, and a trick for making sure your pin-holes line up reasonably well. Just as in previous steps there is a lot of dry fitting to finalize the position I want. As a side note, whether I use the small individual foot bases I made, they have become invaluable in moving the feet around in once piece as I'm not ready to glue the toes yet. Now, to make sure that our pin-holes line up I use the following trick. Drill a hole in one of the two pieces like so...

Next, mix up some of your favorite sculpting putty. Here I've used Green Stuff. flatten a bit of the putty on the piece without a hole.
Lubricate the surface of the putty and place the piece with the hole down onto the piece with the putty being careful to press the two together in the same shape you want the final joint. Press hard. Pull them apart carefully and you will have a squished bit of putty... except where the original hole was! There you will find a little bump cast from the hole.
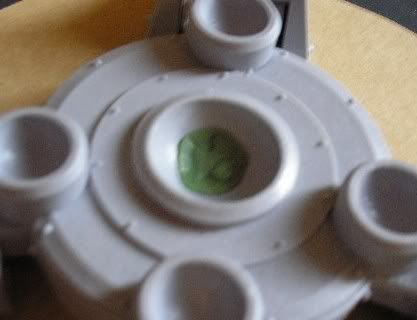
Stick your hobby knife through this bump and mark the spot. Now you know where to drill to get the receiving pin-hole where you want it.
Now if you are like me, you will have a little bit of play in the fit of your pinned feet before gluing. This is a good thing. After preparing both feet and legs for attaching, I get the hips handy. I placed the epoxy in the holes and on the pin as mentioned above. I then place the legs down into the feet. To make sure the angle is right, I hold the two legs together at the tops of the thighs with the hips in place. The epoxy takes a few minutes to set, but it's time well spent just holding the legs in place.

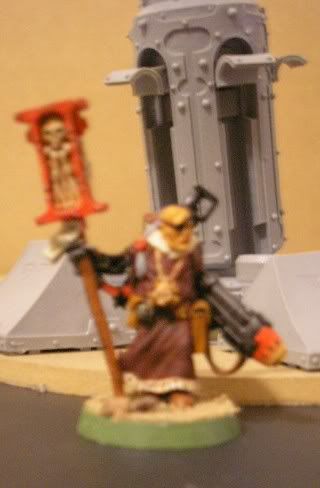
A priest jumped into this photo to show scale. I'm going to try to remember to place him around during pictures to show the scale of things.
The next step is to epoxy the hips together. This will involve no pins at this point... they will come though. I follow the same procedure of holding the legs in place with the hips as I did above, except this time it's the legs and hips being glued.
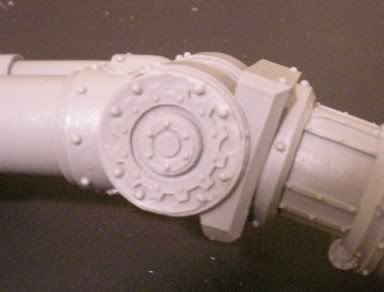
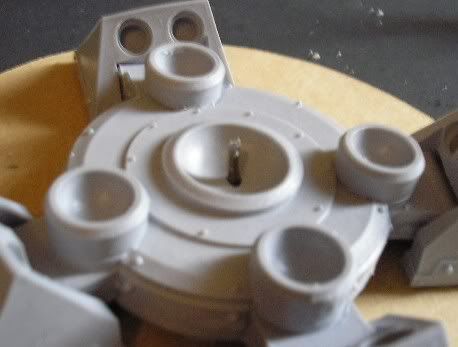
This works fine, but what about pins? This is a ball joint, a major ball joint which is susceptible to twisting stress in several directions! The answer is simple. Looking at the instructions I know there will be a cod piece and a butt piece in place that will cover the front and backs of the hips. So I mark a spot on each hip front and back and get ready to drill...
This area on the front and back are completely covered in a later step. Plus, the holes will line up because the pieces are already glued in place!

And after filling the holes with epoxy, placing the pins, and trimming the excess, we have very well pinned hips that are not likely to succumb to any twisting stress!

I used this same procedure to add another pin to the bottom of each foot. Once again, it will never be seen due to it's location and it's easy to do as the parts are already together.
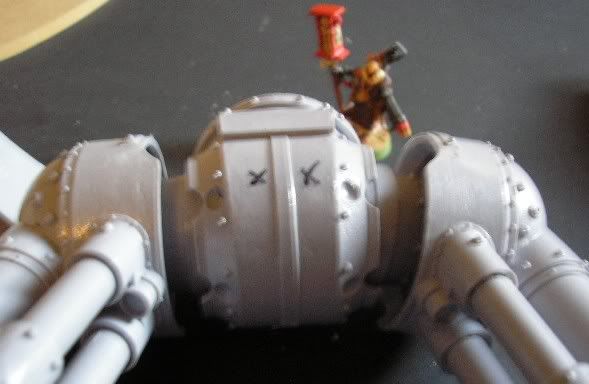
This leaves us with the major assembly of the legs finished from Hips to Feet. Everything else is really just things that will be added on. The astute among you may have noticed that the upper thigh developed a ball joint to fit into the hip after the first step above. Those pics came out something awful but it is simply a circle shaped joint in the thigh. This was pinned with two pins as this is another joint that can move if only one pin was used in the center. Here is a picture of the final leg assembly as it sits on my workbench right now, as you can see the priest is still walking about blessing the feet (it's all he can reach)...
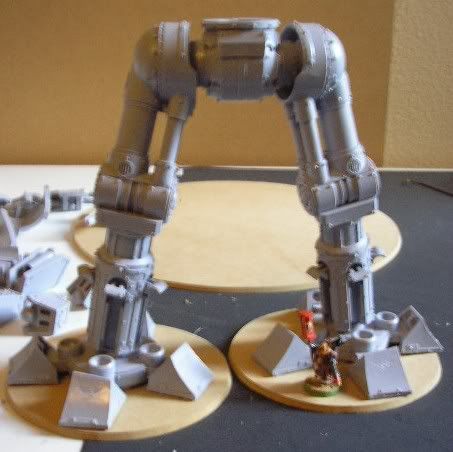
There is a little extra bend in the right leg. Not too dynamic, but better than just standing spread eagle I think. I'd like to thank you for joining me for another installment on what looks to become a 1000 part blog project. I know this was a long one, I'll try to make smaller more frequent posts in the future... this one just got away from me! And, as usual, leave me your comments, questions, criticisms, hopes, dreams, anecdotes, or whatever you've got. I have to get some use out of that fancy new comments program!